In the worlds of rehabilitation and fitness, it’s a common belief that movement equals strength. Many of the exercises I share involve repetition, but other forms of exercise, including static contract-and-relax and sustained-tension exercises, also hold merit.
I very much appreciate static hold exercises for their ability to provide functional strengthening while minimizing the repetitive movements that some people’s joints don’t like. In the average week, I find myself tiptoeing around my patients’ stiff joints, trying to get them stronger and more independent without provoking unnecessary or unwanted discomfort, and I’ve learned that modifying exercises to work within shortened ranges is sometimes the best approach.
5 Holding Exercises That Strengthen While Still
The following exercises can significantly strengthen and develop your core without much dynamic movement.
Although these exercises work well for my patients—and I like them, too—I suggest that you speak with your medical practitioner before trying them to ensure that they are right for you.
Practice Tip: Be sure not to hold your breath—a common, often unconscious, reflex in static positions—during any of the exercises in this series. Maintain a consistent breathing pattern throughout.
1. Plank
Planks are one of the universal short-duration, whole-body exercises. They are intense, requiring muscles from your shoulders all the way down to your feet, and few of us can sustain them for more than a few minutes. That’s not bad, that’s efficient.
Step 1: Lie on a firm, flat surface, face down.
Step 2: Rise onto your forearms and position yourself so that your upper arms are straight up and down. Your toes should bear the weight of your lower body, and your entire body should be in a straight line from your shoulders to your feet.
Step 3: Hold this position for 60 seconds or as long as you can. This is a challenging exercise, so if you can’t make 60 seconds, do your best.
Step 4: Holding position for 60 seconds or as long as you can counts as one set. Try to perform three sets.
Modifications: If the pose is too challenging to hold, put your knees down while keeping your core fully engaged. Want to add a little bit more challenge? Move up into a push-up position to increase the task difficulty.
Why I Like It: Many powerful benefits accrue in a very short period with the plank, especially regarding upright posture.
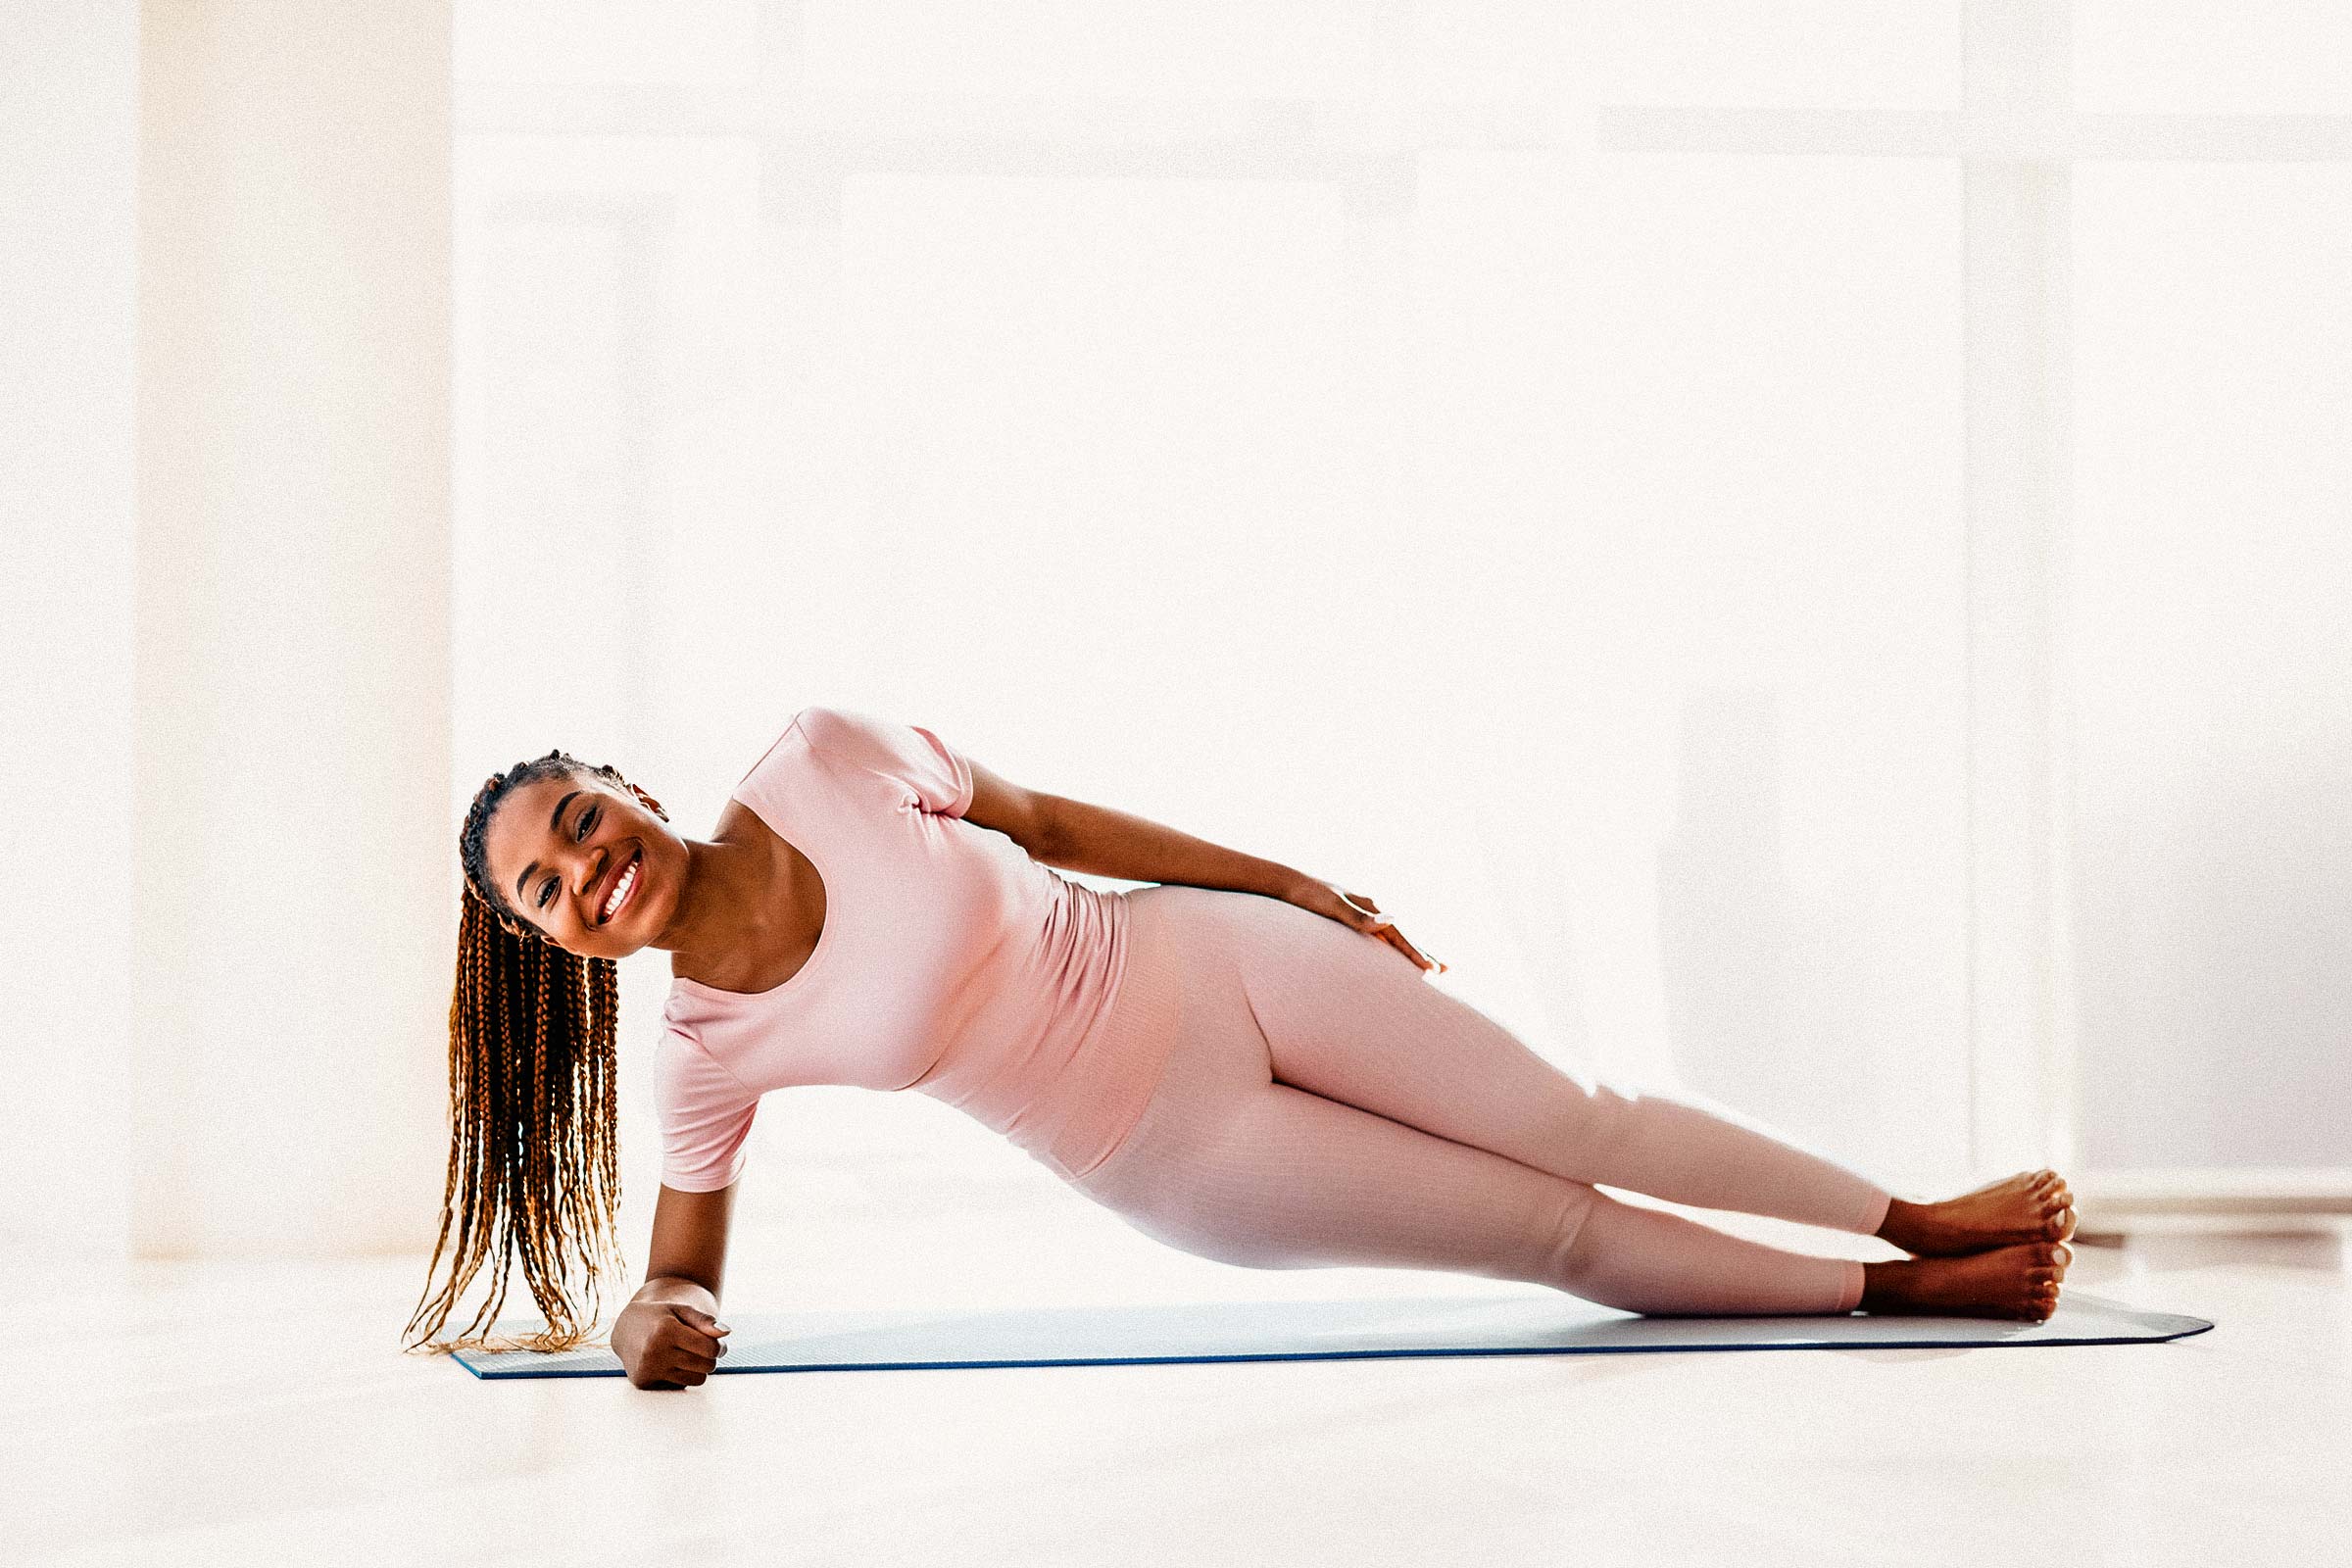
2. Side Plank
The side plank exercise is often neglected when planking time comes, and that’s a shame. The side plank offers a different set of benefits from the traditional one. Ideally, it’s good to perform both standard and side planks, so let’s go through the mechanics.
Step 1: Lie on a firm, supportive surface, such as the floor, on your right side, resting on your right elbow and hip. Bend your knees slightly, keeping your feet stacked one on top of the other.
Step 2: Lift your hips off the floor until your body is in a straight line from your shoulders to your knees.
Step 3: Try to hold this position for 60 seconds or for as long as you can. Rest back down on your side when you can’t hold the plank any longer. Moving into a plank and then back down counts as one set. Try to complete three 60-second planks per side.
Modifications: If you can’t rise fully into the plank, at least try to lift your hips off the floor. If even that proves too challenging, just put forth the effort to rise, because the muscular contractions can eventually lead to enough strength to get your hips up.
Want to make it harder? Straighten your knees, and come up on your elbow and feet instead of your elbow and knees.
Why I Like It: The side plank is the perfect complement to the plank, and vice versa. Pairing these two exercises can lead to increased, balanced core strength.
3. Wall Sit
If you’ve ever felt walled off from exercise, this exercise will make that wall work directly for you. The wall sit exercise focuses on the quadriceps muscles along the front of your thighs. Like the plank, it gets hard fast, and you’ll soon find your legs shaking more than they do on tax day.
Practice Tip: Be sure to wear shoes or socks with good traction.
Step 1: Stand with your back against a wall and your feet approximately two feet away from the wall. Slowly bend your hips until you reach 90 degrees of flexion at both the hip and knee. From the side, it will look like you’re sitting on an invisible chair.
Step 2: Try to hold this position for 60 seconds. If you can’t make 60 seconds, hold it for as long as you can. Holding the position for 60 seconds or as long as you can counts as one set. Try to perform three sets.
Modifications: If you can’t reach 90 degrees of hip or knee flexion, start at a lesser angle. You’ll likely get stronger over time.
Why I Like It: The wall sit exercise maximizes the strength in your “stand up” muscles and your core, and can make you more surefooted.
4. Weighted Glute Bridge Hold
The classic glute bridge is highly effective, but for this routine, we’re going to add a little weight and extend the hold times to give it a boost.
Step 1: Lie on a flat surface with your knees bent and your feet flat on the floor. Cradle a 2-pound weight on your lap, holding it in place with both hands.
Step 2: Slowly lift your hips until your body forms a straight line from your knees to your shoulders, and continue holding the weight to keep it from shifting. Hold the position for 60 seconds before lowering back down. Don’t be surprised if you can’t hold the position for 60 seconds at first. As with the other exercises, hold for as long as you can, up to 60 seconds.
Step 3: Raising, holding for 60 seconds or as long as you can, and then lowering back down counts as one set. Try to perform three sets of 60 seconds.
Modifications: If you can’t rise into a full bridge, just come up as high as you comfortably can. Can’t come up at all? Try anyway, because the effort to move the required muscles will begin to strengthen them, and you may eventually be able to move into a full pose.
Why I Like It: Weighted glute bridges are a great exercise for strengthening the trunk and core muscles, made even better by adding a little extra weight and hold-time. I find the glute bridge especially useful for addressing certain forms of back pain related to stiffness.
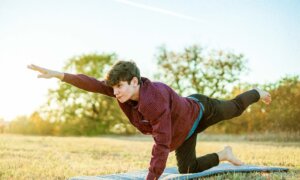
5. Bear Crawl Hold
The bear crawl is a common across-the-floor exercise—great if you have the joints for it. It’s a superb challenge for your core, arms, and legs. However, for this particular version, we’re going to pretend that the bear saw something it didn’t like and stopped in place.
Step 1: Start on your hands and knees, toes turned under and heels upward. You may wish to place a pad under your knees to minimize discomfort, although you won’t be there for long.
Step 2: Slowly lift your knees off the floor, supporting your weight on your hands and feet.
Step 3: Try to hold this position for 60 seconds before lowering back down to the floor. It’s OK if you can’t; just try your best.
Step 4: Holding position for 60 seconds or as long as you can counts as one set. Try to perform three sets.
Modifications: If you need more stability, move your hands and feet a little wider.
Why I Like It: Fascinatingly, halting the bear crawl and making it a static hold does nothing to reduce its absolutely amazing efficacy.
Physically, these exercises can take you miles without requiring much movement at all. They can be highly effective, but you have to be consistent for them to work to their—and your—best. I recommend performing them at least three times per week, and ideally five. They are a great combination exercise set, and I think that you’ll like them once you start mastering the movements.
About the Fitness Model: Aerowenn Hunter is a health editor and fitness model for The Epoch Times. She’s an accredited yoga therapist with three decades of teaching experience.